
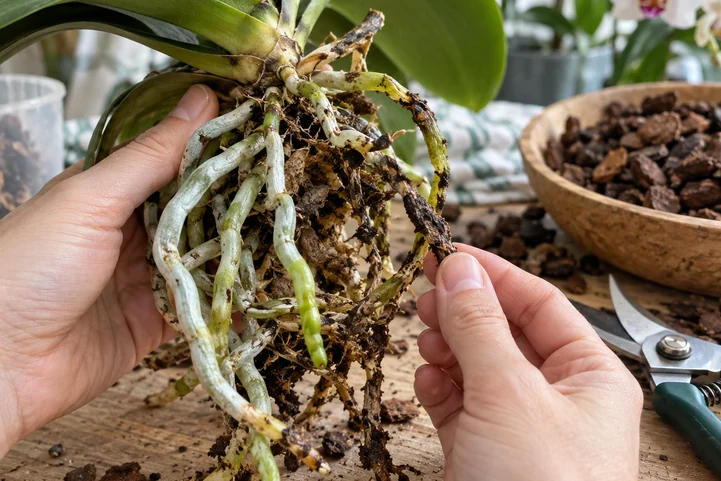
Does it need repotting?
Replace medium that has decomposed into fine particles, stays persistently wet, drains poorly or carries substantial salt buildup. Root loss can also make a smaller container necessary. A few aerial roots outside a pot are not a sufficient reason by themselves.
Routine repotting is often easiest after flowering, around the start of active root growth. Do not wait for that ideal stage when roots are actively deteriorating. Conversely, do not disturb a healthy blooming orchid just to replace an unattractive outer pot.
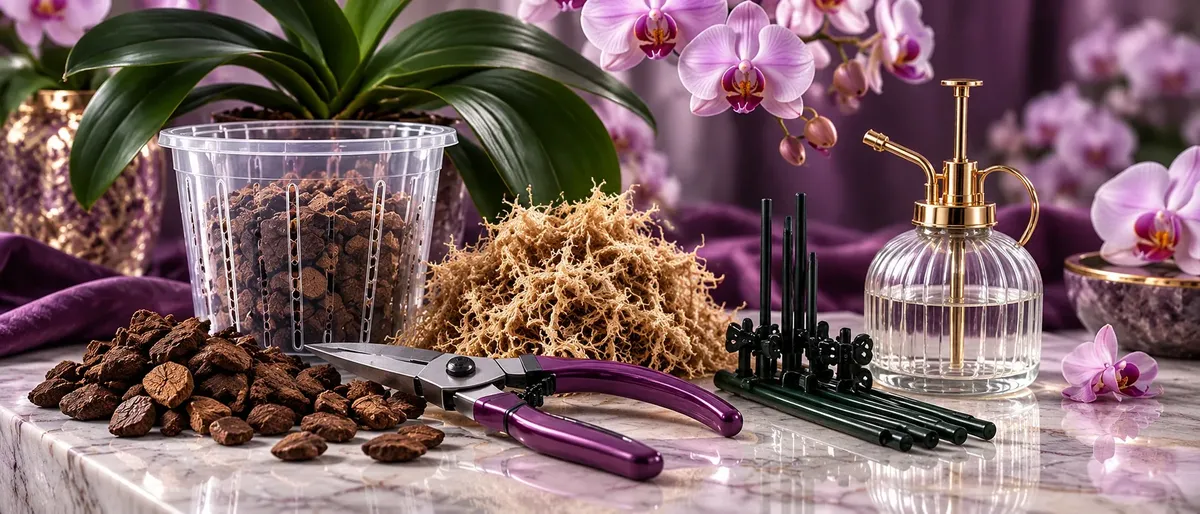
Prepare your workspace
Have the new or cleaned pot, suitable medium, a clean tray, sharp cutting tools, a soft support tie and a waste bag ready. Choose a pot with free drainage. Its size should match the healthy roots that remain, not the width of the leaves or the height of the flower spike.
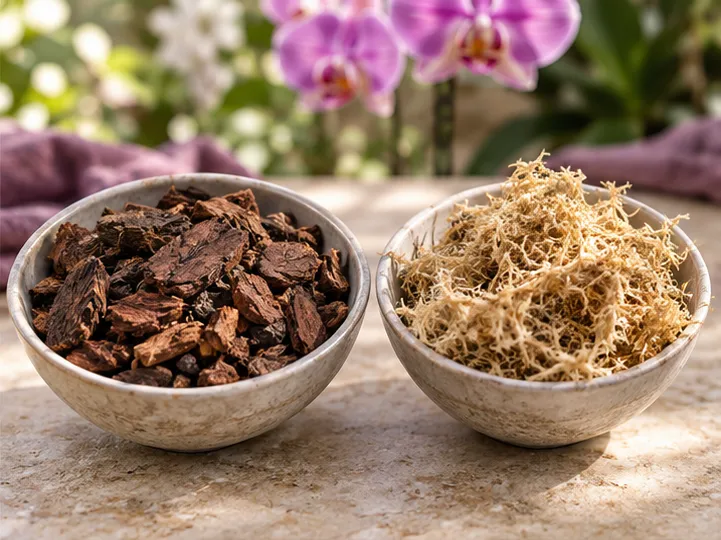
Prepare the mix according to its instructions. Some bark benefits from premoistening because it initially sheds water. Wet long-fiber sphagnum and gently squeeze out excess water before placing it; do not pack a dry, compressed block of moss around the roots.
Clean tools and disinfect them appropriately between plants. Remove dirt before disinfecting. Follow the disinfectant label, including contact time and any rinsing requirement; a quick wipe may not disinfect a tool fully.
Ease the plant out
If healthy roots are dry and stiff, moistening them can make handling easier. Squeeze a flexible plastic pot gently and work the root ball loose. Roots attached to holes or rough surfaces need patience; sacrificing an inexpensive pot can be better than tearing several healthy roots.
Support the plant near the base and root mass. Do not tug the leaves or use the flower spike as a handle. If you must cut an old plastic container, work away from the plant and your hands.
Place the plant on a clean tray out of direct sun and drying drafts. Keep the prepared pot and medium within reach.
Clear the old mix
Ease bark and moss away with your fingers. A tightly packed plug near the stem can hold moisture differently from the outside medium; remove accessible old material without scraping healthy roots. Use gentle rinsing where it helps reveal what is there.
Keep roots that are firm and intact, including pale or stained roots. Remove clearly dead, hollow or mushy sections with a clean, sharp tool. A discolored surface alone is not proof of rot.
Inspect partly damaged roots carefully and preserve the firm, healthy portions. Do not cut healthy roots just to make the plant look tidier. For widespread loss, follow root-rot recovery.
Choose the right fit
Lower the roots into the pot without tight bends. Leave enough space to work medium between them, but do not surround a small root system with a large reservoir of wet material. Reusing the same size—or moving down after root loss—can be the right choice.
Keep the base of the leaves and the crown above the mix. Aerial roots that will not fit gently can remain outside. Fill with small handfuls, tapping the pot lightly so pieces settle. Do not ram bark into gaps or compress moss into a dense block.
Support the plant securely while leaving air spaces in the mix and open drainage below. You do not need to fill every gap. See orchid pots for material and fit choices.
Keep the plant steady
A newly potted orchid should not rock every time you move the pot. A suitable stake or soft tie can steady it while roots establish. Position supports carefully and avoid pressing on the crown or cutting into leaf bases.
Do not solve instability by burying the plant deeply. Do not increase the pot size just because the top is heavy; a stable outer cover can support an appropriately sized growing pot, provided it never traps standing water around it.
The first watering
After a routine repot with firm, intact roots, water the new mix thoroughly and let it drain. If you have just premoistened the mix and the roots, check its moisture before immediately adding more water.
After extensive removal of rotten roots, use a lightly moist, airy medium and avoid keeping the remaining tissue saturated. The small root system may take up water slowly. Check the center of the pot before watering again; a fixed week-long drying period can be too long in some rooms and too short in others.
Fresh bark may initially shed water. If water runs straight through without wetting it, pause and water again. The first few cycles reveal how this pot dries; do not carry over the old moss-watering interval unchanged.
Aftercare and new roots
A little settling is normal. Persistent wobbling, medium staying wet much longer than expected or progressive leaf collapse deserves another look. Do not keep unpotting the plant to search for a new root every few days.
Maintain appropriate filtered light and avoid adding stress through hot sun or strong fertilizer. New root tips and stable leaves are good signs of progress; an old damaged leaf may not return to its original appearance.
Record the repot date, the mix and what the roots looked like. That is more informative next time than remembering only the brand of potting mix.
Common questions
Do I need to cut all the brown roots?
No. Some roots are stained or naturally pale inside a dark pot. Keep firm roots and remove tissue that is clearly hollow, mushy or dead.
Can I repot while an orchid is flowering?
It can be necessary when roots or medium are failing. For routine maintenance on a healthy plant, waiting until the display finishes usually avoids unnecessary disturbance.
Should I always use a bigger pot?
No. Fresh medium in the same pot size is often enough. After root loss, a smaller pot may fit the remaining root system better.
More Orchid Care Guides
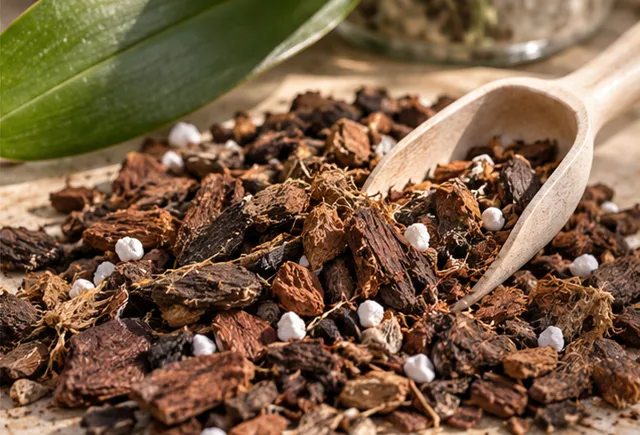
Choosing an Orchid Potting Mix
Compare bark, sphagnum and other ingredients, choose a particle size and spot a mix that needs replacing.
Read the guide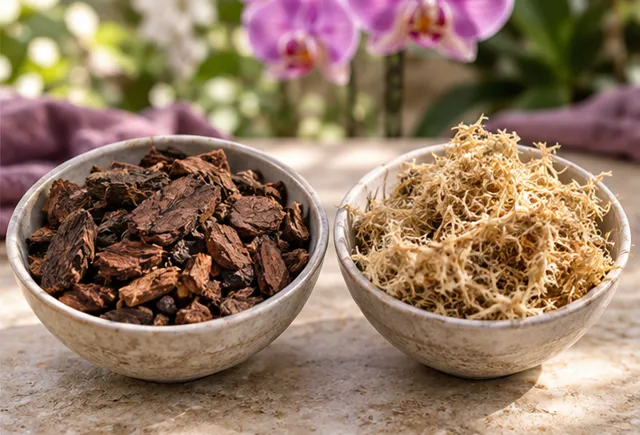
Orchid Bark vs. Sphagnum Moss
Compare drying patterns, deal with a hidden moss plug and adjust watering when you change from bark to moss or back.
Read the guide