
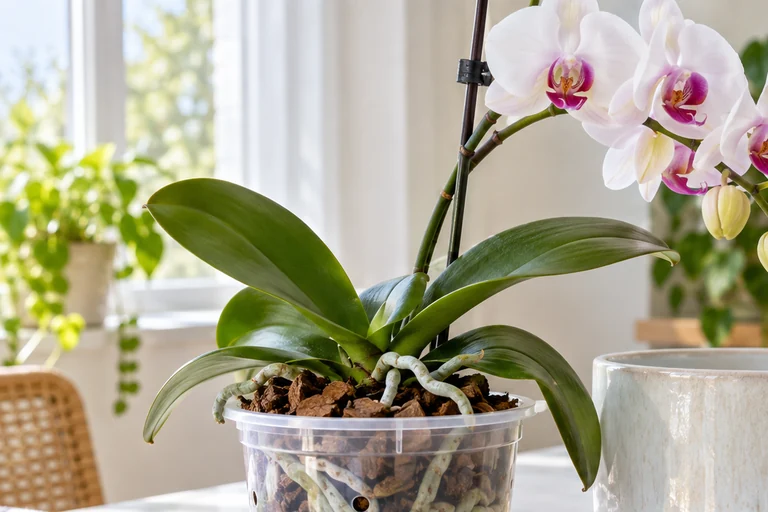
Start with the inner pot
Remove wrapping that blocks the drainage holes. Lift the growing pot out of its decorative cover and pour away any standing water. Do not assume a ceramic container has drainage just because it contains a plant. Many arrangements hide a smaller plastic pot inside.
Look through the sides, where possible, without pulling the orchid out. Note whether the mix is chunky bark, fibrous sphagnum moss, or a mixture. A surface layer of bark can cover a denser plug around the base; this matters if the center stays damp long after the outside looks dry.
Look at the leaves and the growing point, too. A firm crown and firm roots are reassuring. Widespread soft roots, a wet collapsing center, or rapidly spreading damage call for problem checks, not a routine first-week schedule.
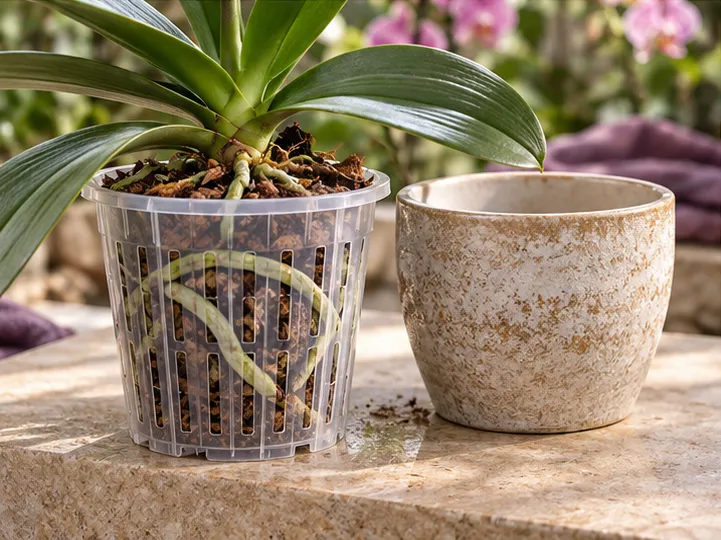
Choose a bright spot
An east-facing window is a good starting point for many moth orchids. A south- or west-facing window may need a sheer curtain or a position farther from the glass. The direction alone is not enough: trees, adjacent buildings, blinds and the season change the light reaching the leaves.
Avoid a heating vent, the blast from an air conditioner and a cold draft. Do not press leaves against the glass. Check the leaves during the brightest part of the day; a comfortable room can still have a hot windowsill.
Once the position is suitable, leave the orchid there while you learn its drying pattern. Moving it between several rooms makes it harder to tell whether light, temperature or watering caused a change.
Does it need water?
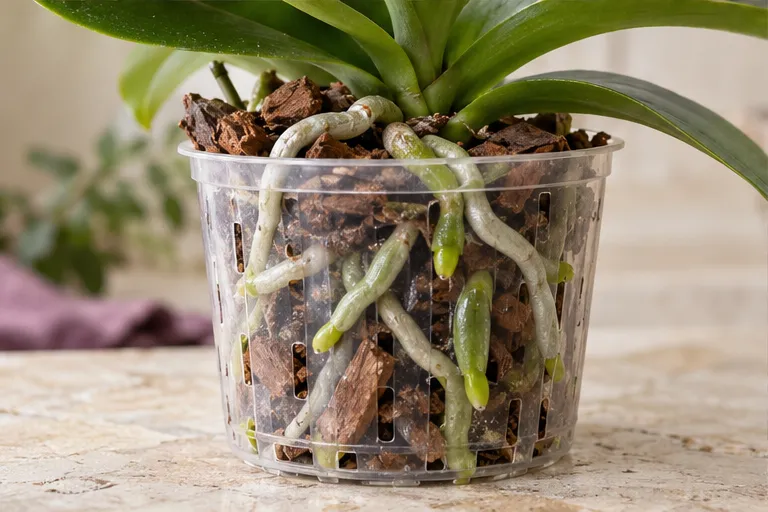
Not necessarily. A plant may have been watered just before you bought it. Check below the surface; the dry-looking top layer can hide a wet center. Lift the pot to learn its weight, feel accessible medium, and look at roots inside the pot. Firm silvery roots can be dry; green roots often indicate a recently wetted outer layer. Root color helps, but it cannot tell you how wet the center of the pot is.
If the center is still wet and the pot feels heavy, wait and check again. If the mix is approaching dryness, water it thoroughly at the sink and let it drain before replacing the outer pot. Keep water out of the leaf crown. Do not give small daily splashes merely because the flowers look thirsty.
For a full moisture check in bark, moss or a mixed pot, see how to water orchids.
The first two weeks
Use these checks during the first two weeks, but water or repot only when the plant needs it.
| When | What to do | What to leave alone |
|---|---|---|
|
Arrival day
|
Check drainage, medium, roots and light. Photograph the whole plant for your own comparison.
|
Do not cut healthy aerial roots or repot a healthy plant just because it is new.
|
|
Next few days
|
Check the center of the pot and its weight. Water only when the plant needs it.
|
Do not change light, fertilizer and potting mix all at once.
|
|
After the first watering
|
Note how a fully drained pot feels. Compare it as it dries.
|
Do not leave runoff in the decorative cover.
|
|
By the end of two weeks
|
Recheck the crown, leaves and root tips. Review any change against the arrival photograph.
|
Do not expect new flowers, roots or leaves on a deadline.
|
Keep supplies simple
A draining pot, suitable light and a place to water safely are the essentials. A clear growing pot makes moisture and roots easier to see, but an orchid does not need a luxury container. Keep a small notebook or use a phone note to record watering and changes.
Buy potting mix when there is a reason to repot. Use orchid bark or another airy orchid medium; dense houseplant soil holds too much water around epiphytic roots. Fertilizer can wait until you understand the plant's condition and water routine; feeding is not a treatment for root damage.
Keep new plants separate from an existing collection while you inspect for insects under leaves and around the crown. Do not apply preventive pesticides without evidence of a pest.
When flowers fade
One faded flower does not mean that you have killed the plant. Flowers have a finite life, and you do not know how long they were open before purchase. Note whether older open flowers are fading gradually or unopened buds are shriveling.
Gradual flower loss with healthy leaves and roots usually leads to care after blooming. Sudden loss of several buds or flowers deserves a look at transport, drafts and watering in flowers falling off.
Three mistakes to avoid
Do not repot into a much larger pot to give the orchid room to grow. Extra wet medium is not a benefit to a small root system. Aerial roots can stay where they are; cutting them for appearance removes healthy tissue. And do not stop watering after the flowers finish: a moth orchid can be growing leaves and roots even when its spike is bare.
Keep the routine simple: check the pot and leaves, change only what needs attention, and give the plant time to respond.
Common questions
Should I repot a new orchid immediately?
Usually not. A healthy flowering plant in fresh, draining medium can normally finish its display first. Repot sooner if roots are rotting, the medium has collapsed or the container cannot drain.
Is a grocery-store orchid difficult to keep?
Most are Phalaenopsis hybrids suited to indoor growing. First inspect the inner growing pot and medium; the decorative outer pot can hide standing water or dense moss.
Should I mist my orchid every day?
Misting is not a replacement for watering the roots. Avoid leaving moisture trapped in the crown or on developing buds. Check room humidity before adding any humidity equipment.
More Orchid Care Guides
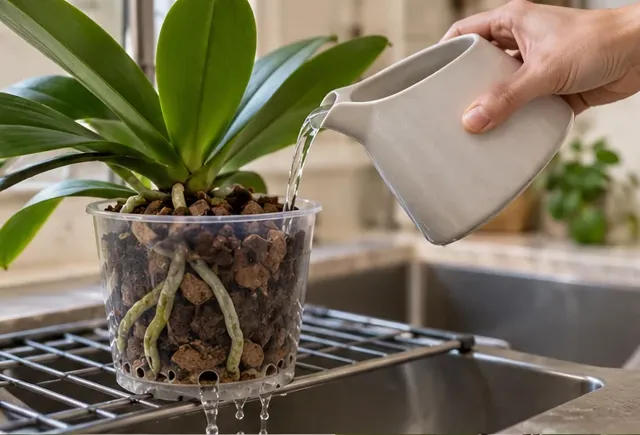
How to Water Orchids
Check moisture inside bark or moss, water thoroughly and let the pot drain. Learn what root color can—and cannot—tell you.
Read the guide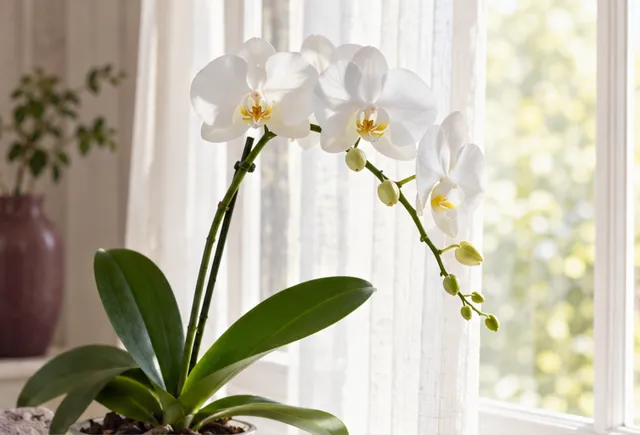
Orchid Light Requirements
Find a suitable window, recognize sun and heat damage, and decide whether your orchid needs a grow light.
Read the guide